2 Steps to Set Up and Use a Printer Driver
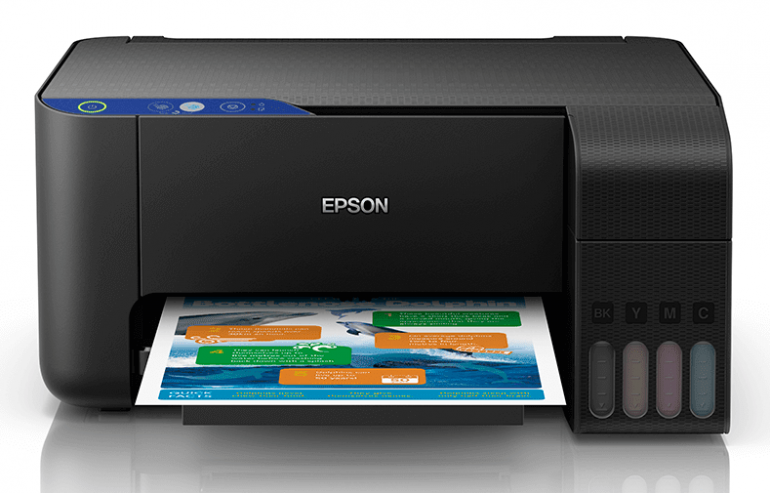
One of the important software to install on our computer is the printer driver. If we talk about printers, then it is very important to have printer drivers on our laptops.
Because this driver will connect the computer to the printer so that the printing process can run smoothly.
If you don’t have a CD for printer installation, then you can look for printer drivers download on the manufacturer’s official website.
How to Install Printer Driver on PC
Before we discuss further how to install a printer driver on a PC, you should first know where to get a printer driver other than a CD.
- Printer Drivers Download
Here’s what you have to do to download the printer driver:
- Go to the official website of the printer manufacturer
- Scroll down and you will see “printer driver”
- Click the download button is available
- If the file has been downloaded, then you have to extract the file. How to open the file on computer storage, then click “run as administrator”
- Follow the next command and press enter
- If the process is complete, the folder name will automatically change to “printer”
That’s how to get a printer driver through the manufacturer’s official website. Usually, if there is an update, you will get the latest version of the driver.
- How to Install Printer Driver
After you have followed all the instructions given to download the printer driver, then you have to install it on your computer.
Here you will enter the printer’s name and even the WIFI password. Follow all the instructions given as this will connect your printer to the network.
Don’t forget when you want to install the printer driver, you must connect the printer cable to your PC or laptop. Here are the steps:
- Select the “start” menu then look for the “Devices” menu and select “Printers”
- If there is an “add printer” option, you can click it
- Then the “add a printer” dialog box will appear
- Next you can select “local printer” and click Next
- Then a dialog box will appear where you can choose “printer port”
- Here you will be faced with two choices, namely the drop-down port or port settings that have been recommended by your computer. Follow the steps and click Next
- Then a dialog box will appear that requires you to add drivers. Add the previously downloaded driver or you can use a CD.
- Type the name of your printer
- If the process is complete then click “finish”
- Try the print test, usually, the printer will automatically print when the driver installation process is successful.
Those are the steps you can follow to install the printer driver. The most important thing is that you get an official printer driver.
For printer drivers download, you can look for it on the official website of your printer manufacturer. If there is no CD, then you can download it yourself.
As long as you follow each step, your printer can be directly connected to the computer and ready to be used for printing.

The Upgraded Version of LaserJet Printer
How to Choose the Right Office Printer